Are you a lover of DIY home projects? Or do you always want to renew your decoration but don’t know where to start? Then you are going to enjoy this simple guide on how to sew a pillow cover.
Cushions are an easy and cheap way to freshen up the look of your living area. You won't believe how much of a difference it can make to your home. Many couches come with matching cushions. However, this means that the cushions merge into the sofa, creating a monotone color scheme. The great news is that you can simply flip things around by just using cushion covers.

With some patterned or colorful fabrics, you can change the whole environment of your living room. Or, if you have cushions on your furniture, you can simply change the covers regularly to clean them easily. We get it; with many pillows comes too pillow covers. And especially if you are on a budget, you might want to look for an affordable and accessible alternative. Let’s grab our supplies and get to work with no further ado!
How Many Pillow Covers Do You Need?
Everyone has their preferences on how many pillows you need at home. The number changes according to your lifestyle, decoration style, sleeping habits, comfort level, etc. However, we have a simple formula to find out how many pillowcases you need. Twice as your pillows. Let us explain.
Pillowcases get dirty quite quickly. Why is that? They are exposed to everything from the oils and greases on our skin and scalp to the cosmetics we use to maintain the healthiest possible skin and hair for around eight hours each night.
Moreover, some extra cushions or pillow covers will be your best friend when it comes to having pets or kids at home. Since they might go a little crazy while having fun, as they should, they might forget about the mess they are making. But if you always have spare pillow covers in a closet, you will always be covered, no pun intended.
First Things First: Preparation

Beginner crafters get discouraged when they do not have a sewing machine when it comes to DIY projects with fabrics. However, you don't even need a sewing machine to make these pillow coverings. So do not worry. All skill levels will benefit from this step-by-step guide on sewing. Beginners will find it easy enough to make, while more experienced crafters will find it both enjoyable and time-saving! Yes, maybe they won’t be done under 10 minutes, but this will also be an excellent opportunity to improve your hand-sewing skills.
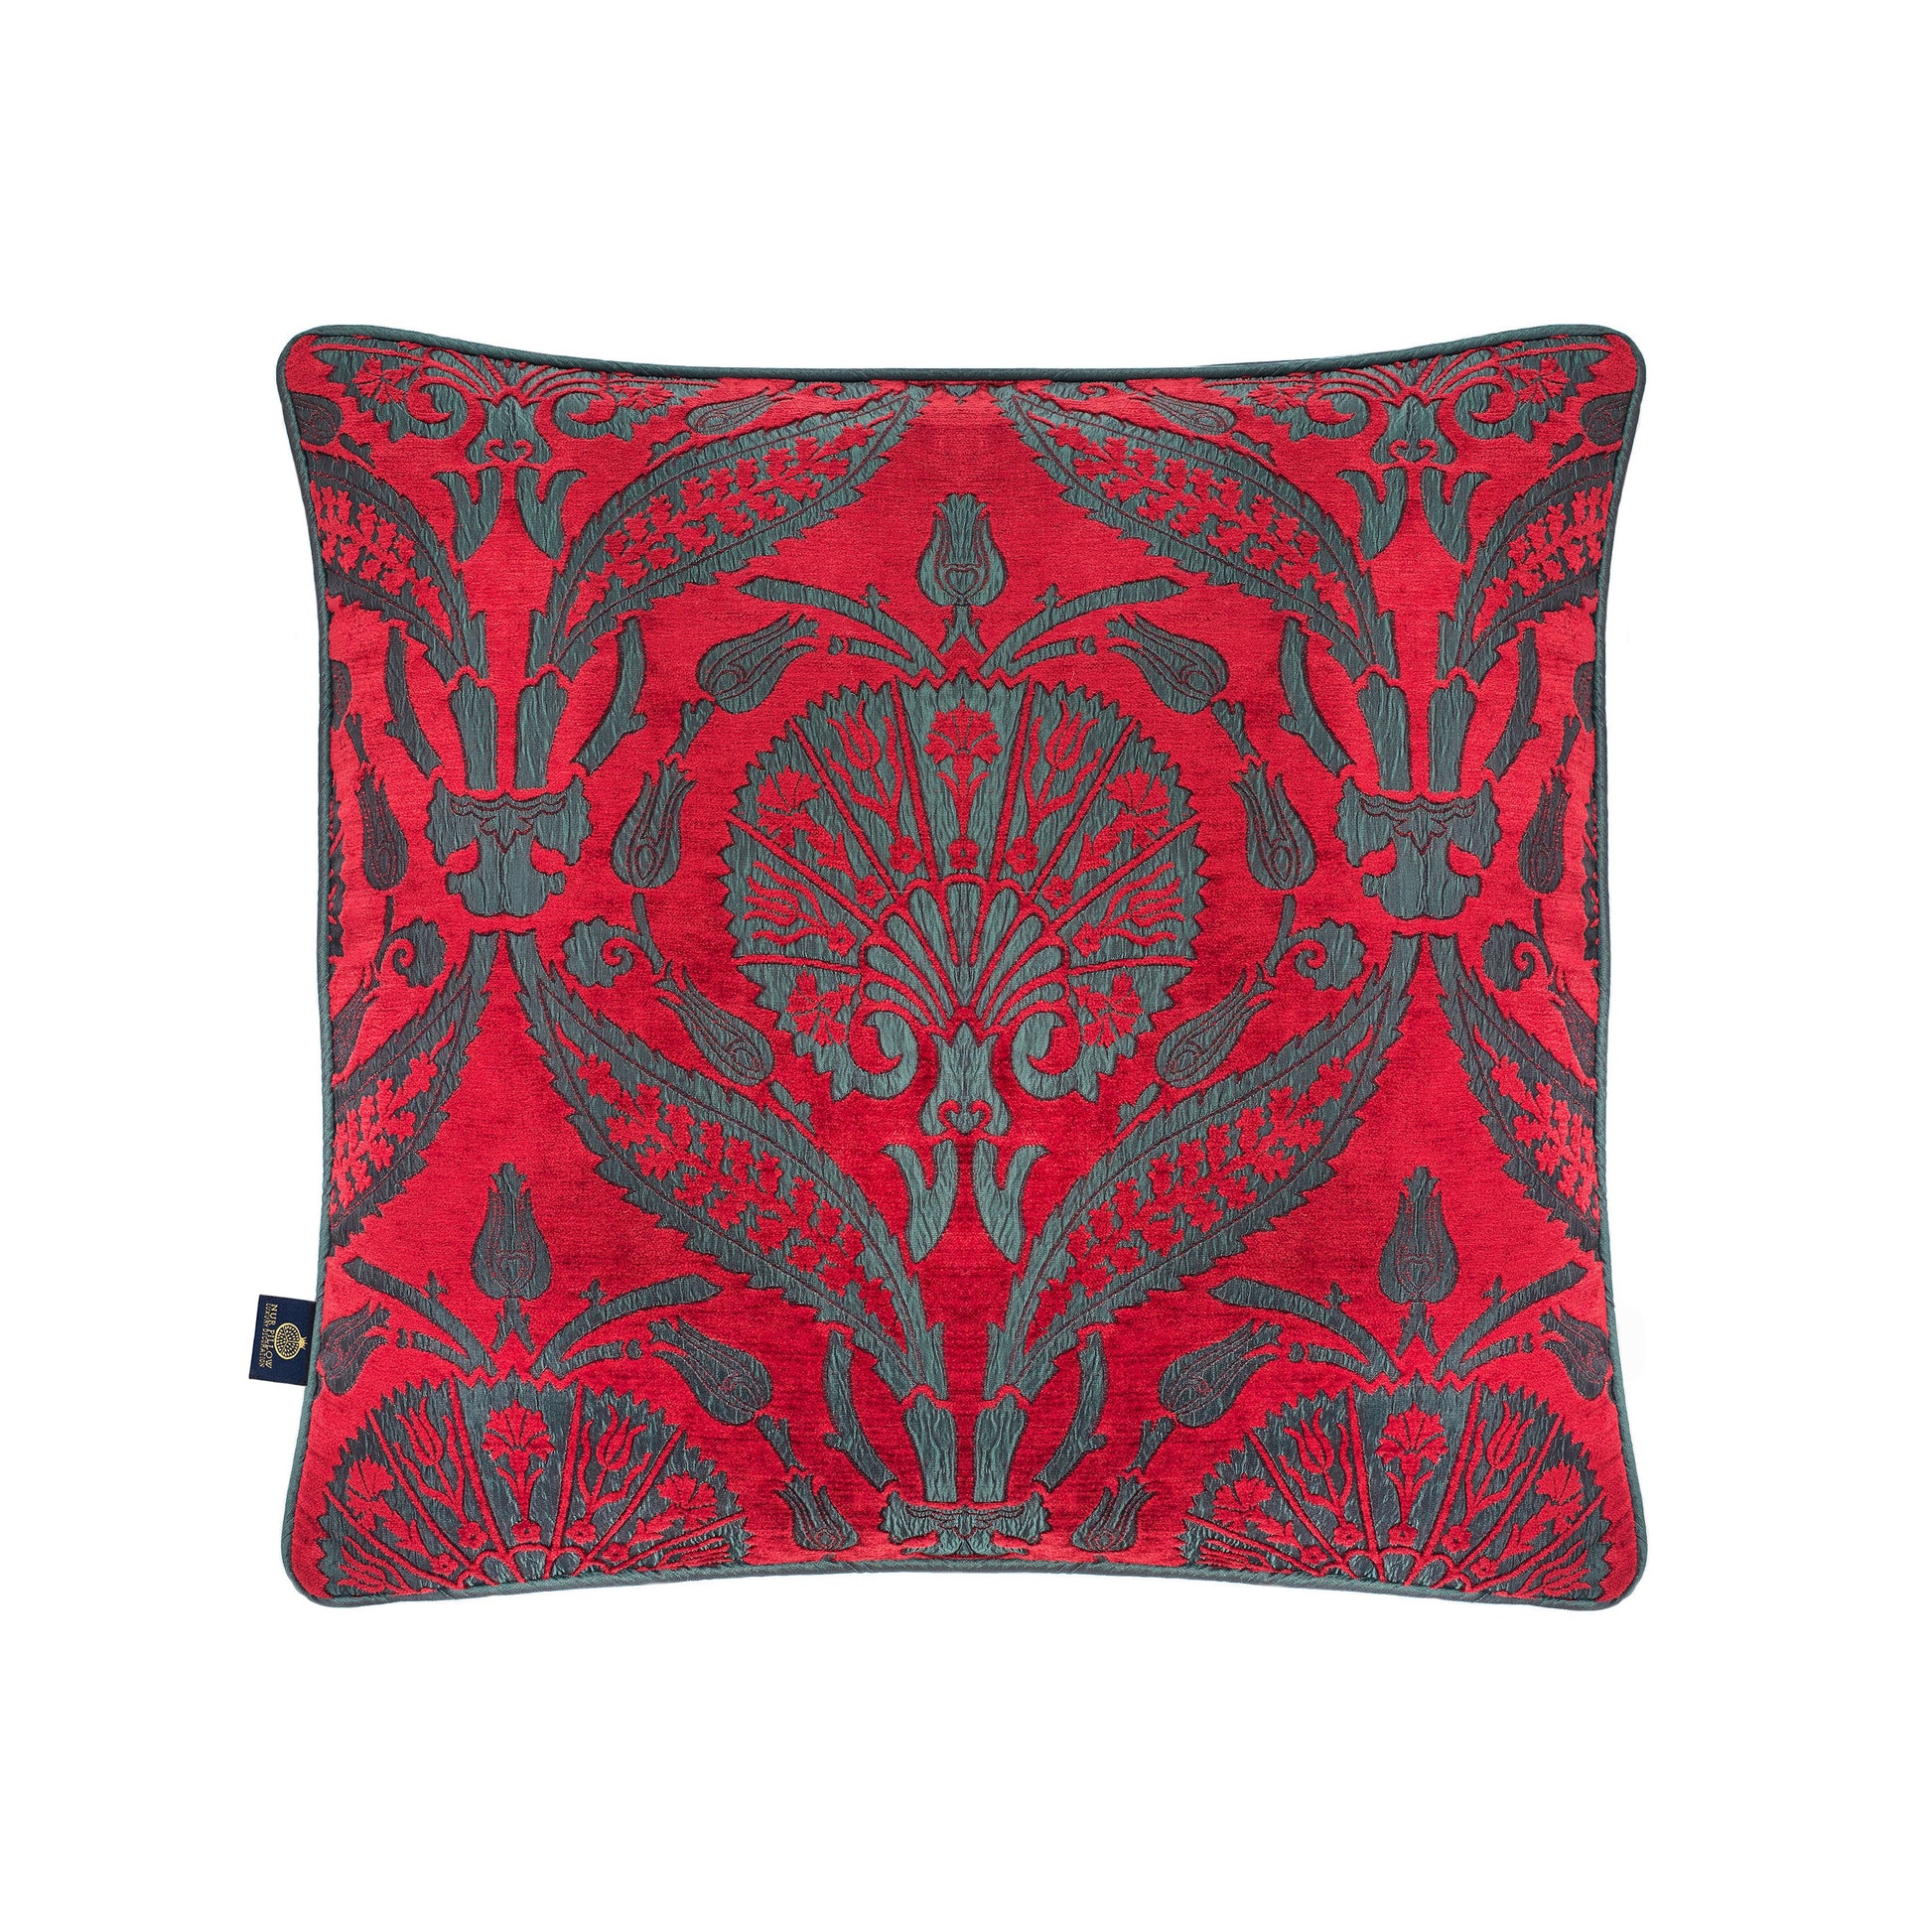
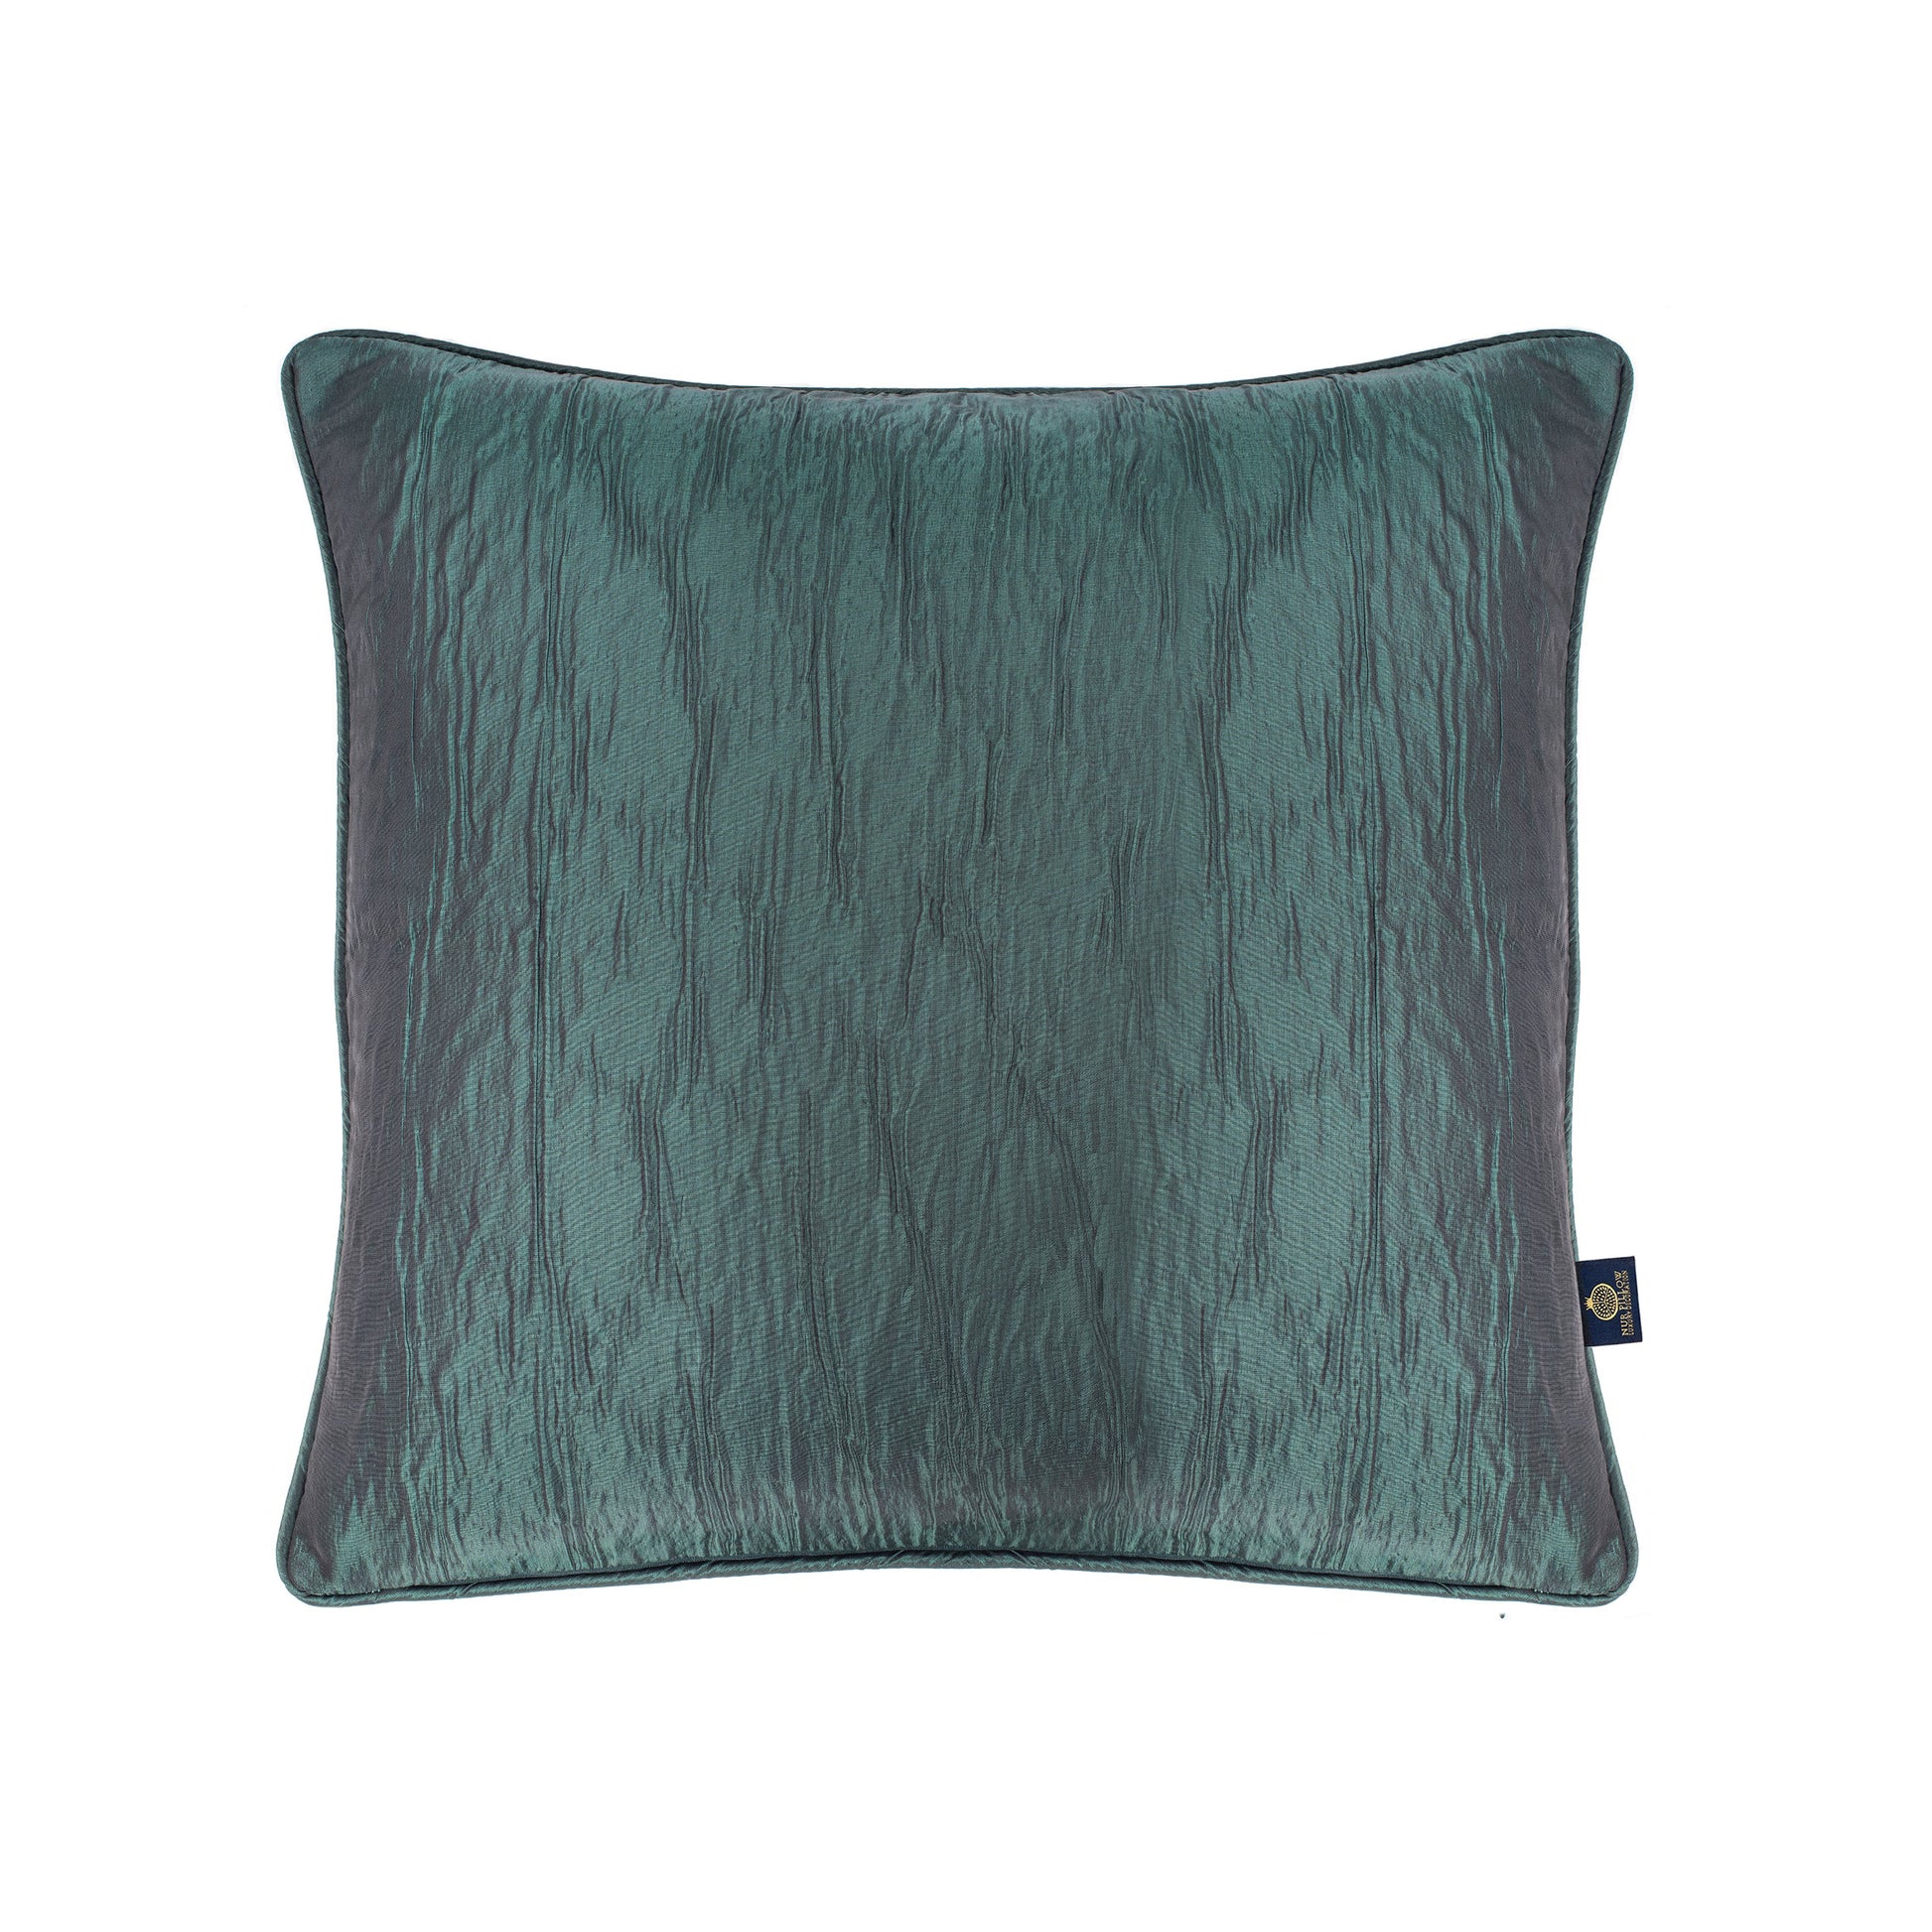
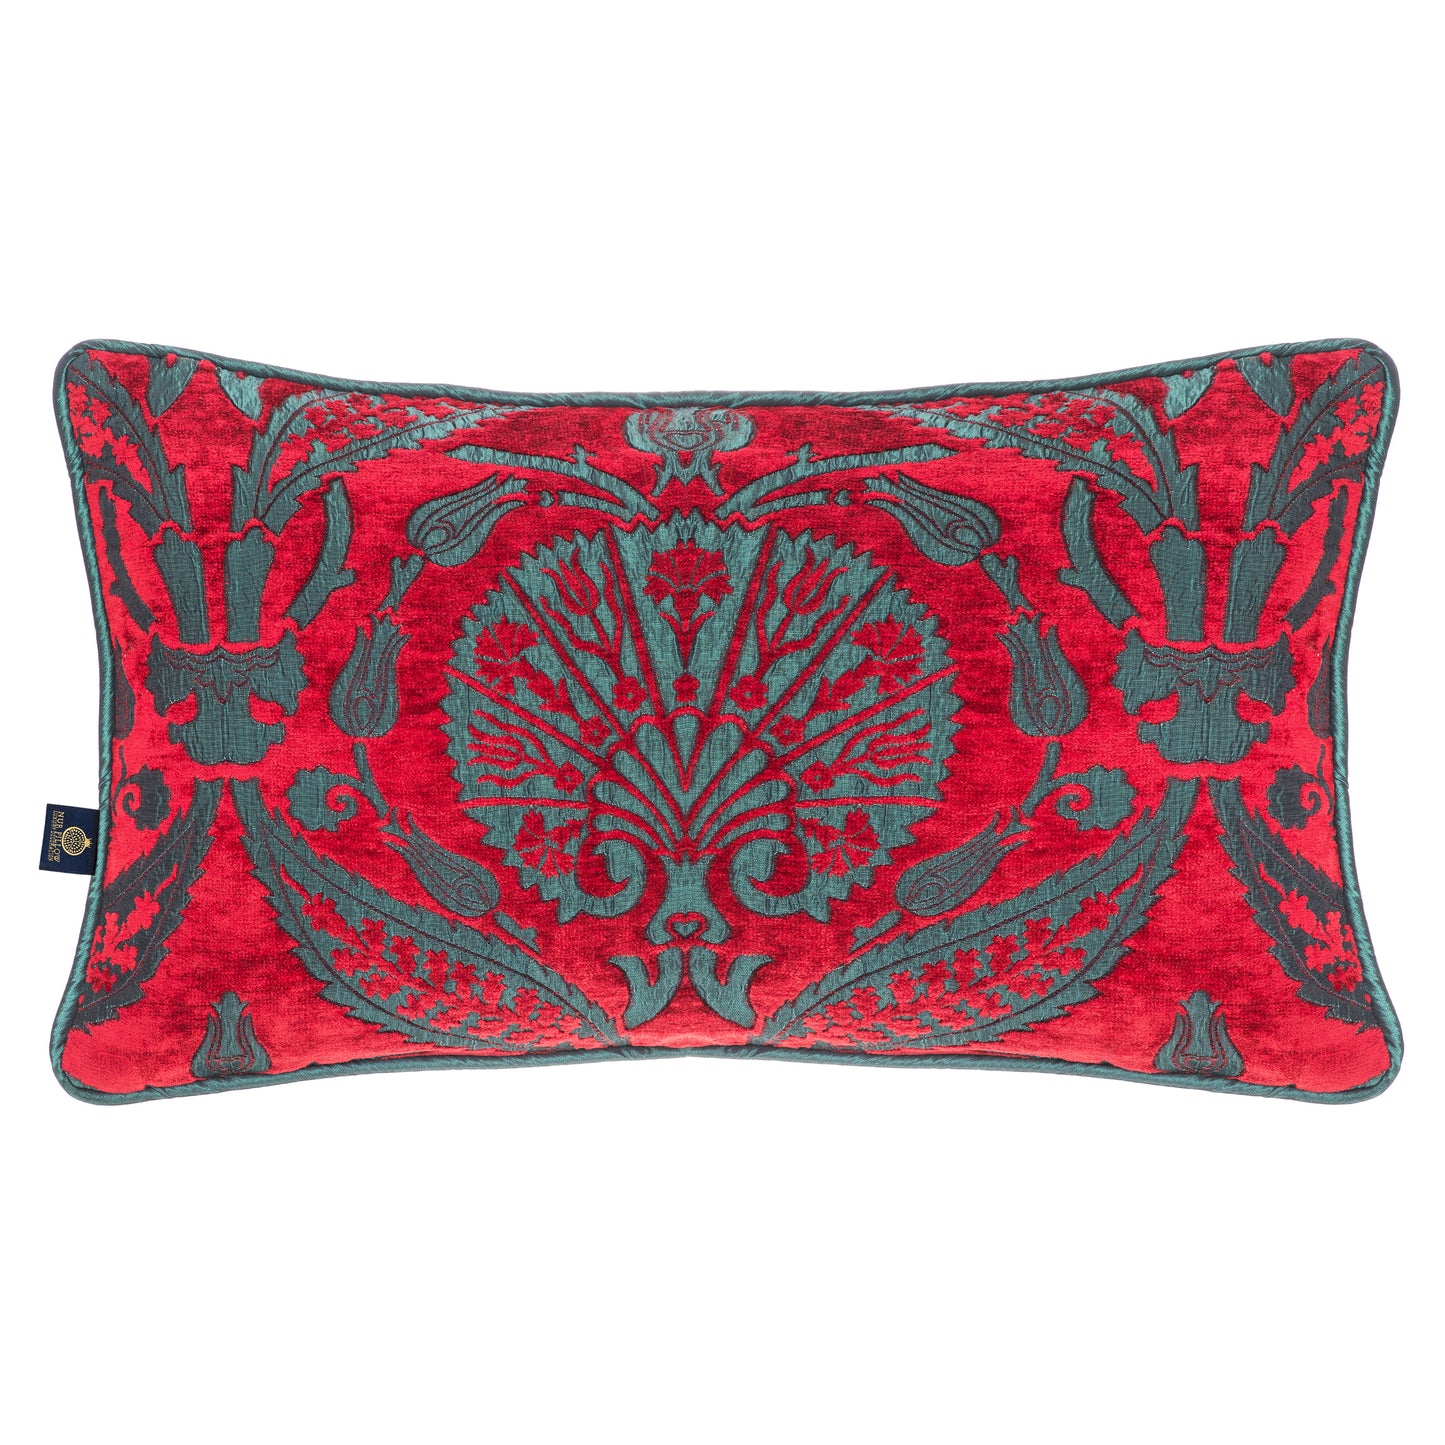
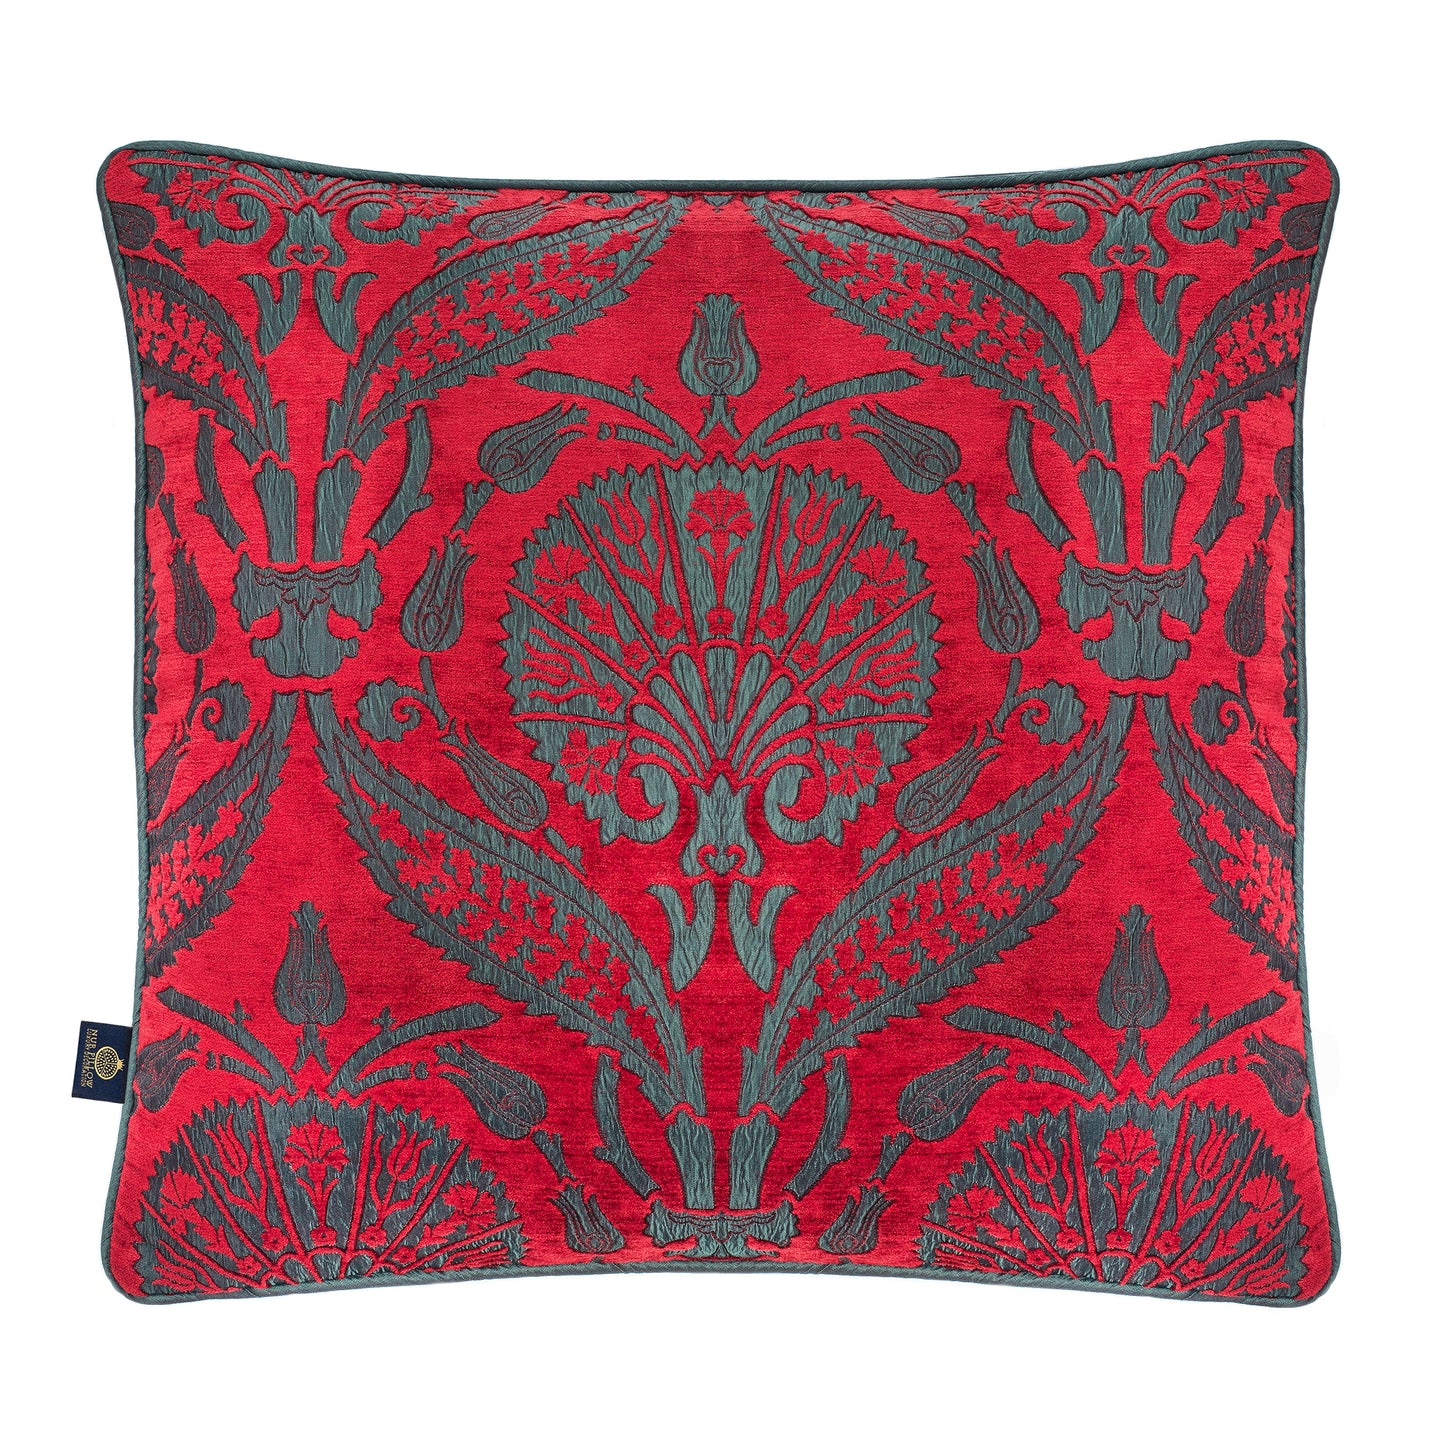
Firstly, you must decide on your measurements by checking your other pillowcases or measuring your pillows directly. Mostly the cushions are square-shaped. However, you can create any shape you want by applying these simple steps we will show. You will need this preparation part once you buy the fabric. If you do not have any cushions or pillows in your house, you can check Nur Pillow by visiting our website nurpillowdesign.com and the perfect-sized cushion for your living area.
Which Fabric Should You Chose?
There are countless varieties of fabrics available for use in creating pillowcases. The rookie may find it challenging to choose one because of this. You can select the ideal material for your pillowcase by deciding which season it will be used. For guests and yourself, you might wish to utilize more abundant materials.
Winter pillowcases should be made of flannel. They're silky, warm, and soothing on cold evenings. Children's flannel comes in winter and holiday-themed designs if you're making pillowcases for youngsters.
Jersey cotton is a new summer fabric. It's soft, absorbent, and washable, like a used t-shirt. It's thin, breathes easily, and won't grow stuffy when you need to cool off. If you sweat a lot during the summer, you can wash the pillowcase numerous times before it wears out.
Spring and fall are ideal times to make Egyptian cotton pillows. It's neither warm nor chilly, making it suitable for months with changeable temperatures and essential guests.
Supplies for Sewing a Pillow Cover

- A beautiful fabric
- A pillow insert
- Matching-color thread
- Measuring tape and a marker
- Scissors and a cutting mat
- Pins
- Sewing machine or needle
Instructions
Rather than shelling out for a new pillow, these step-by-step instructions aim to save you money by simply replacing the cover. Because of the envelope design, you don't have to worry about finding or installing a zipper with these pillow covers.
Measure and Cut the Fabric

Trim your fabric to the following measurements, then cut a rectangle the size of the pillow insert:
For a 12" square pillow: 12" x 28"
For a 14" square pillow: 14" x 32"
For a 16" square pillow: 16" x 36"
For a 18" square pillow: 18" x 40"
Keep in mind that there is no seam allowance in the cutting instructions, resulting in a pillow cover slightly smaller than the form and hence has no spare space.
Mark your Working Area

Measure the distance listed below from the longer top and bottom edges from each end. Mark the point with a marking tool, a pin, or by pressing a crease with your finger.
Mark your cloth 8" from the short ends for a 12" pillow.
If you want a 14-inch pillow, mark your fabric 9 inches from the short ends.
Ten inches from the short ends of your fabric should be marked for a 16-inch pillow.
Mark your fabric 11 inches from the short ends if you make an 18-inch pillow.
Hem the Ends

Sew a finished edge to the bottom of the top back piece by folding the bottom edge over about half an inch and then over again. If you are going to hand-sew the edges, you can go with a thicker border to make it easier.
Fold the Marked Lines
Now it is time to make the square shape. The markings you drew on the long edges of your cloth should serve as a guide for folding your fabric's right sides together. The pillow cover's back should have a 3-inch overlap according to the measurements we gave above. Attach a safety pin to the long edges of both pieces of fabric.
Sew the Seams

Using a 1/2-inch seam allowance, sew the seams on each folded side. In order to keep your clothing from fraying, apply your favorite seam finish. Remember that ironing these seams in place makes it much easier to stitch them.
Turn the Pillow Cover Right Side Out

Make sure the corners of the pillow cover are turned out before flipping it right side out. Press and fill the pillow or pillow form with the required filling. If your covers have protruding edges, you may want to remove the insert and resew or trim the corners. If you'd want to add tassels to the corners, you can do so by hand sewing them in.

More Tips on Sewing Pillow Covers
Using a rotary cutter, an acrylic ruler, and a cutting mat is the best way to cut the cloth. There's little doubt that cutting with scissors will suffice in the absence of one, but I can guarantee that owning one of these kits will make your life far more straightforward. You won't be sorry you did it.
Always have more cloth on hand than you think you'll need. If you're a newbie, don't just buy the amount of material you need. Having enough fabric on hand means you can try again if something goes wrong.

If you're just learning how to sew, stick to using 100 percent cotton fabrics whenever you can. When it comes to sewing, this is the most forgiving material. Inexperienced pillow makers should wait until they have a better handle on the craft before using more sophisticated fabrics, such as velvet.
Start by using a new needle and thread on your sewing machine. Using thick needles can cause a slew of issues. Check to see if the needle is sharp and designed explicitly for use with cotton fabric before using it. Keep the threads your grandmother gave you when sewing with a sewing machine and only utilize new threads for other types of creative projects.
If you're just learning how to sew, stick to using 100 percent cotton fabrics whenever you can. When it comes to sewing, this is the most forgiving material. Inexperienced pillow makers should wait until they have a better handle on the craft before using more sophisticated fabrics, such as velvet.
Always have a seam ripper on hand. This tool will save you a lot of time when you need to reverse certain stitches. However, it would be best to exercise caution and not disregard its sharpness.
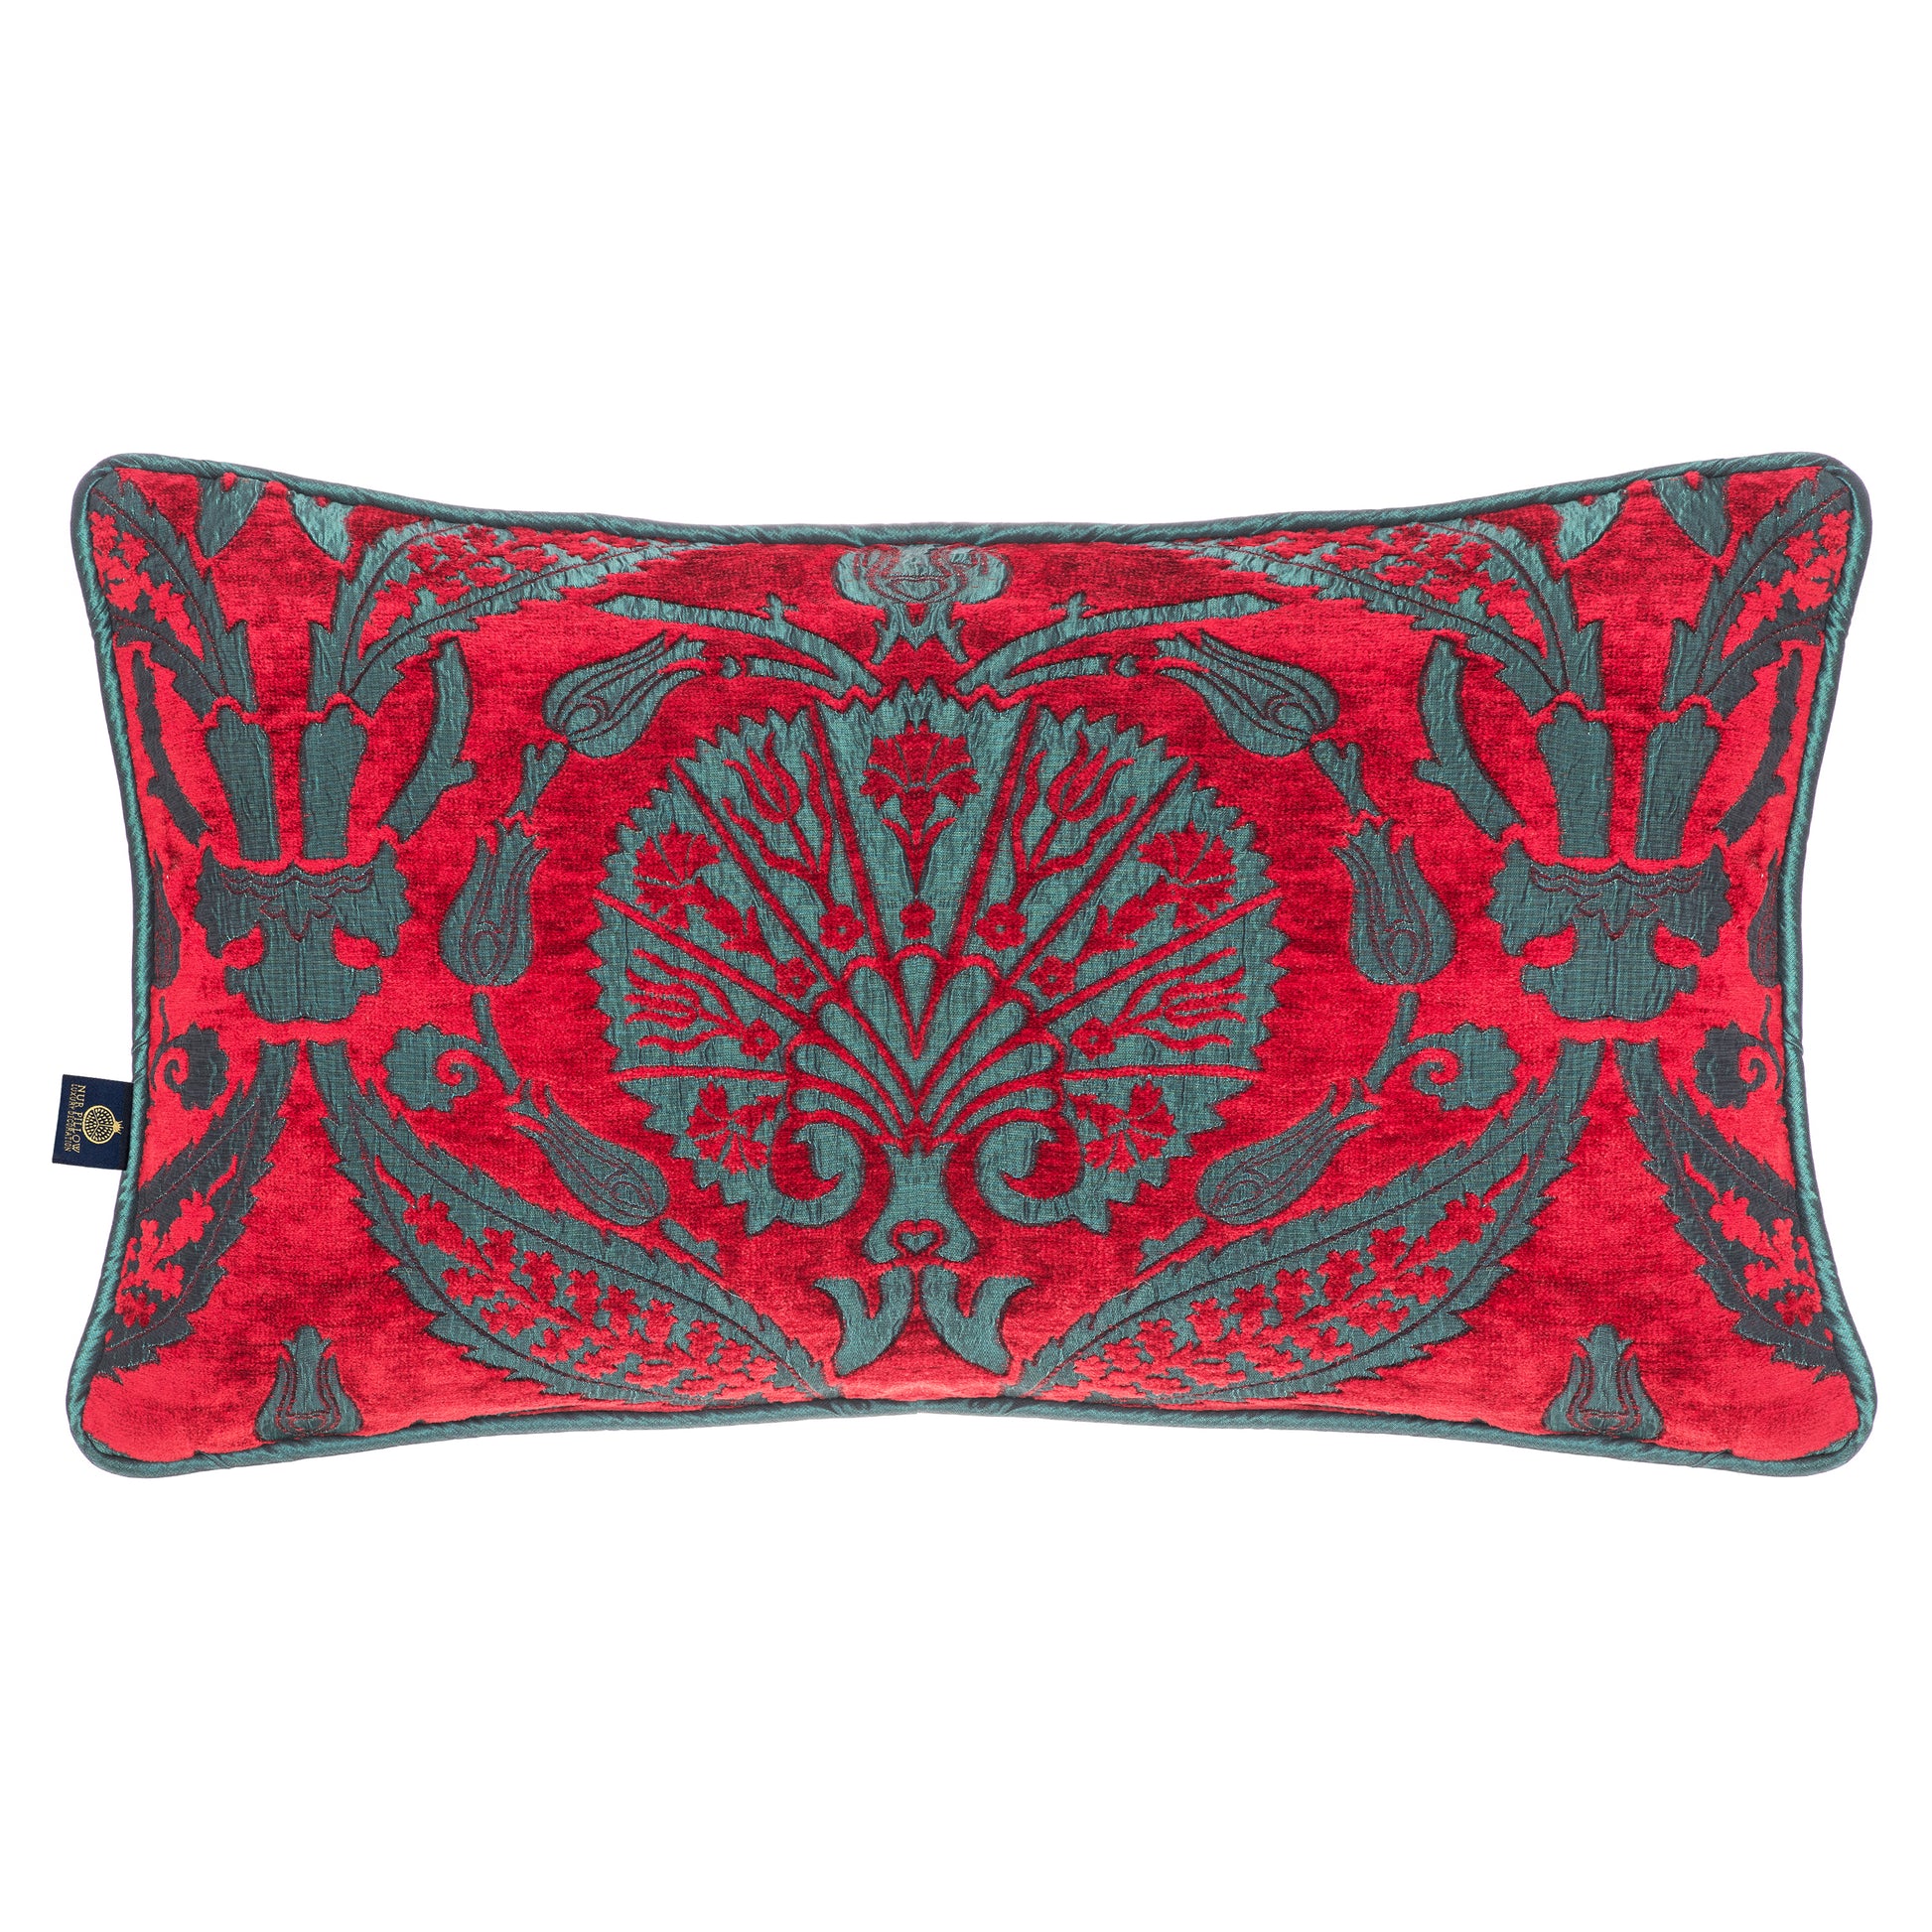
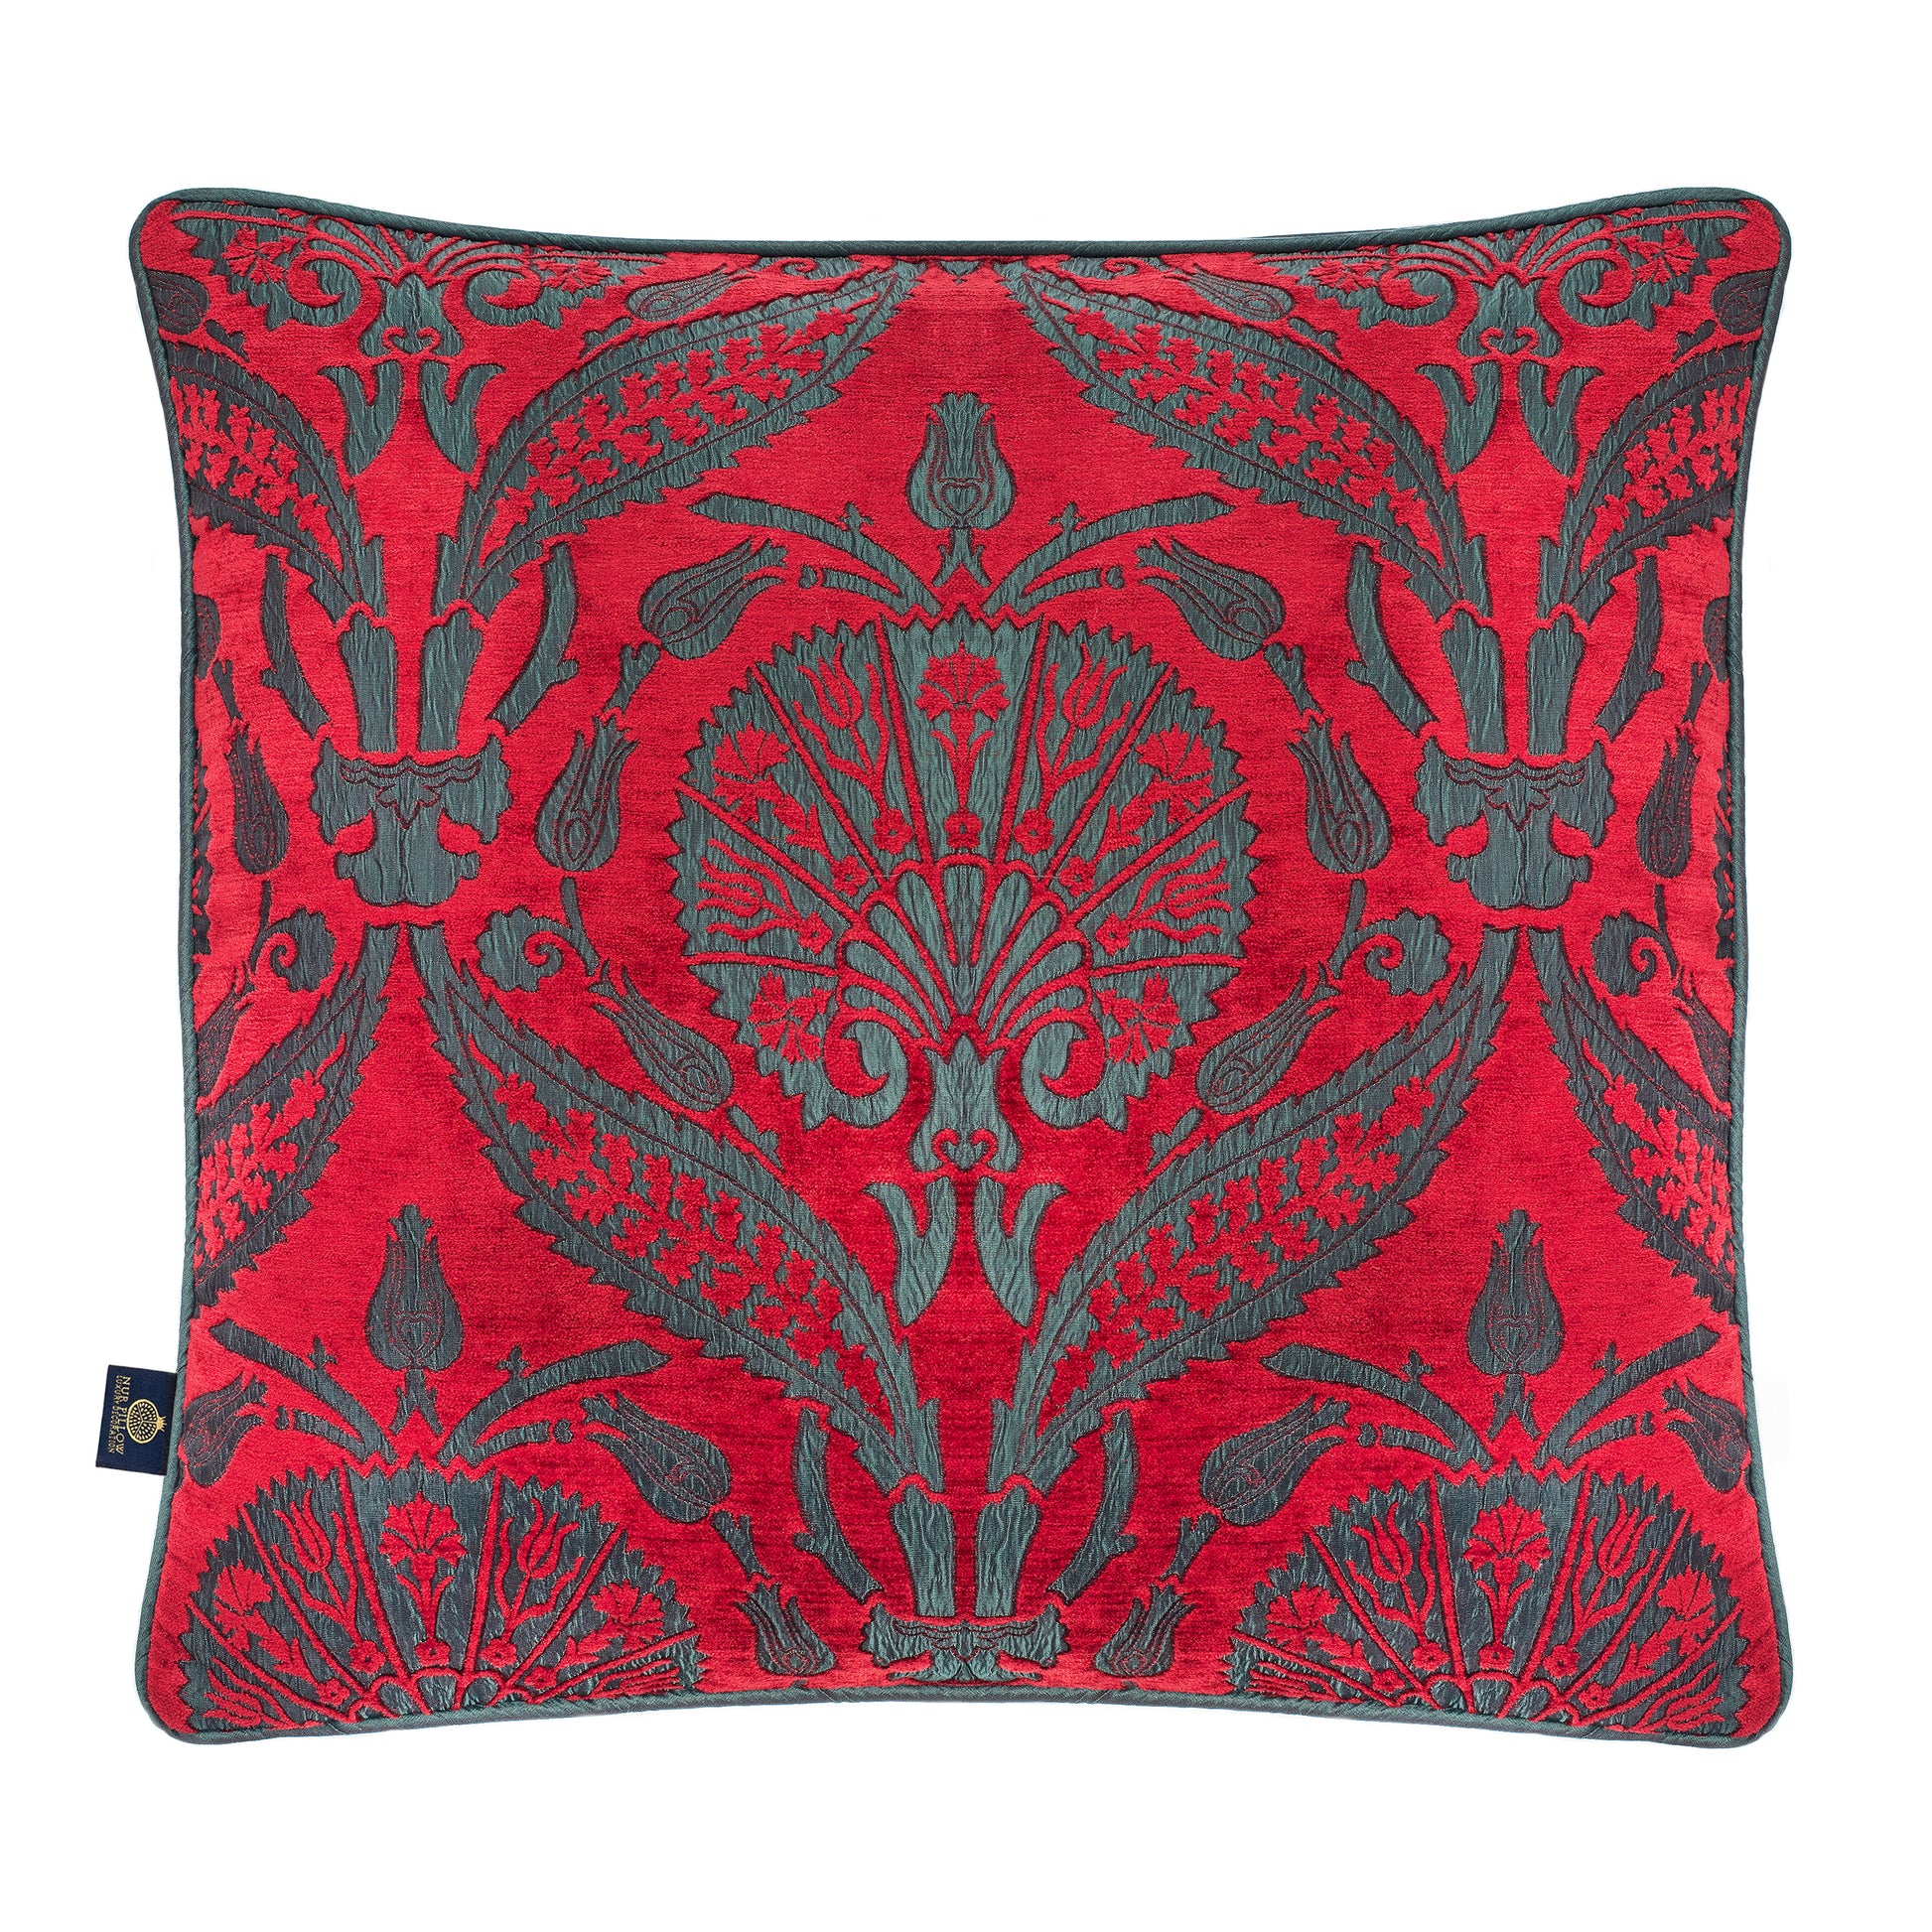
Here you are! Your brand new pillow case is ready. These can be amazing gifts for special occasions, and you can customize the pillowcases since they are DIY. To find the matching-sized quality luxury cushions, you can check Nur Pillow by visiting our website nurpillowdesign.com and find the perfect-sized cushion for your living area.